
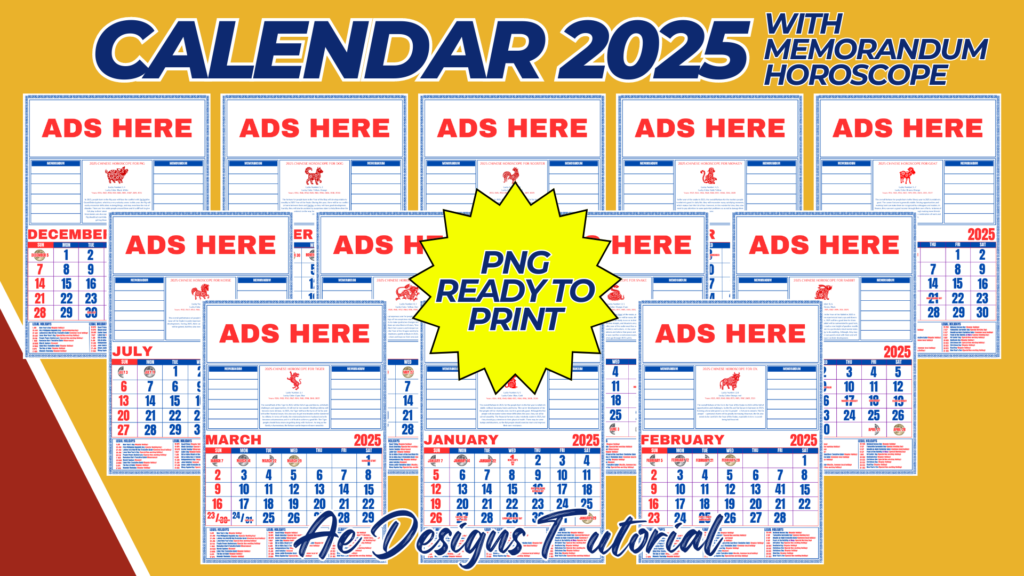
Creating a 2025 calendar in A4 size with 12 months, ready to print in PNG format, involves several key steps to ensure that the design is both functional and visually appealing. Here’s a detailed description and guide on how to approach the design:
1. Calendar Layout:
- Page Format: The calendar will be divided into 12 separate pages, one for each month, with each page sized at A4 (210 x 297 mm or 8.27 x 11.69 inches).
- Grid Design: Each page will feature a clear, easy-to-read grid that includes all the days of the month. Ensure that each day box is large enough to write notes or appointments.
2. Header Section:
- Month Name: At the top of each page, prominently display the name of the month (e.g., January, February, etc.). Use a bold, legible font that stands out.
- Year: Include “2025” in the header for easy reference. You may choose to place it next to the month or as a separate design element.
- Visual Elements: Add small decorative elements like illustrations, icons, or patterns that reflect the theme of each month (e.g., snowflakes for January, flowers for May).
3. Date Grid:
- Day Names: Clearly label each column with the days of the week (Sunday to Saturday). Consider using a different color or style for weekends to make them stand out.
- Numbering: Ensure that the dates are easy to read, with the numbers placed consistently within each box.
- Holidays: Pre-mark important holidays or events on the calendar, either by highlighting the date or adding small icons.
4. Footer Section:
- Notes Area: Provide a small space at the bottom of each page for notes, reminders, or additional information.
- Branding/Author: If applicable, include a small logo or name at the bottom of each page to indicate the creator or publisher.
5. Design Theme:
- Consistency: Maintain a consistent design theme across all 12 pages, whether it’s minimalist, floral, seasonal, or themed around specific events.
- Color Scheme: Choose a color scheme that complements the overall design. It’s important to use colors that are easy on the eyes, especially since the calendar will be used daily.
- Illustrations/Graphics: Use relevant illustrations or graphics that match the theme of the month. For example, a beach scene for July, autumn leaves for October, etc.
6. Printing Considerations:
- High Resolution: Ensure that all images and text are in high resolution (at least 300 DPI) to avoid pixelation when printed.
- Bleed and Margins: Set up proper bleed and margins to ensure that nothing gets cut off when the calendar is printed. A 3mm bleed is standard for A4 printing.
- File Format: Save each calendar page as a separate PNG file in high resolution. This format ensures that the calendar is ready for printing without any loss of quality.
7. Final Touches:
- Proofreading: Double-check all dates, holidays, and text for accuracy. Ensure that each month starts on the correct day of the week.
- Test Print: Before finalizing, do a test print of one page to ensure that the colors, layout, and design look as expected in physical form.
- Distribution: Once finalized, the calendar can be shared digitally for users to print at home, or it can be printed in bulk for distribution.
By following these steps, you will create a functional and aesthetically pleasing A4 size 2025 calendar, with 12 months, ready to print in PNG format. This calendar will be a useful tool for personal, educational, or professional use throughout the year.
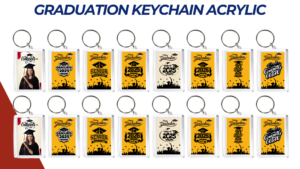
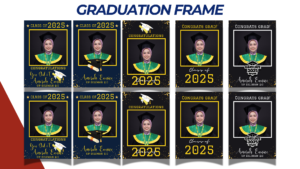
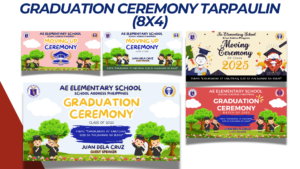
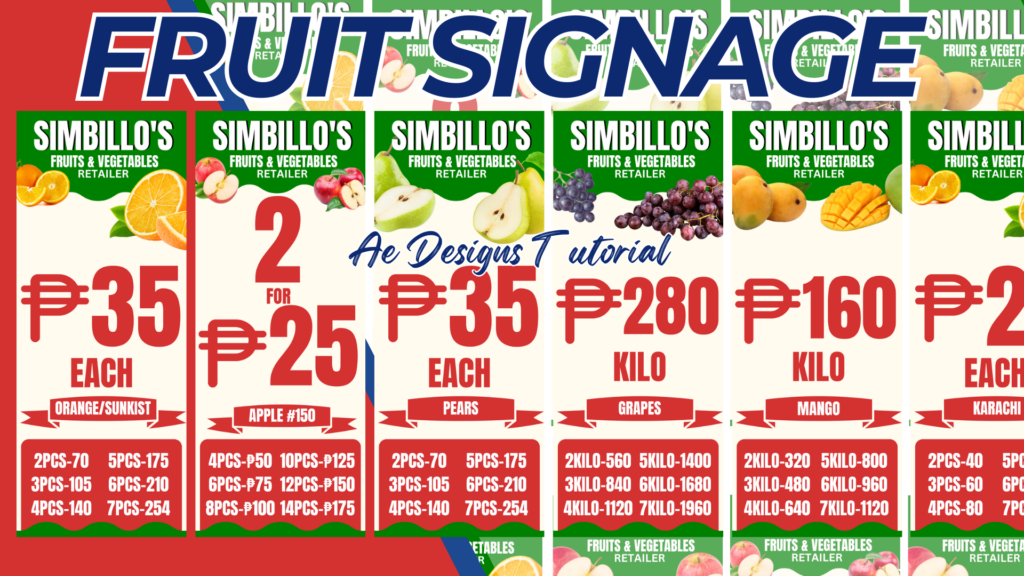
NOTE: Isa isahin nyo na lang ung LINK anjan din kasi ung mga MATERIALS na pwede magamit at ung FILES.
Materials CALENDAR 2025 WITH MEMORANDUM
Click here: https://bit.ly/3Y0Z2IF
Click here: https://bit.ly/3RYUZsg
Click here: https://bit.ly/3TNClnc
Click here: https://bit.ly/3LeqsCW
Click here: https://bit.ly/3YSArpF