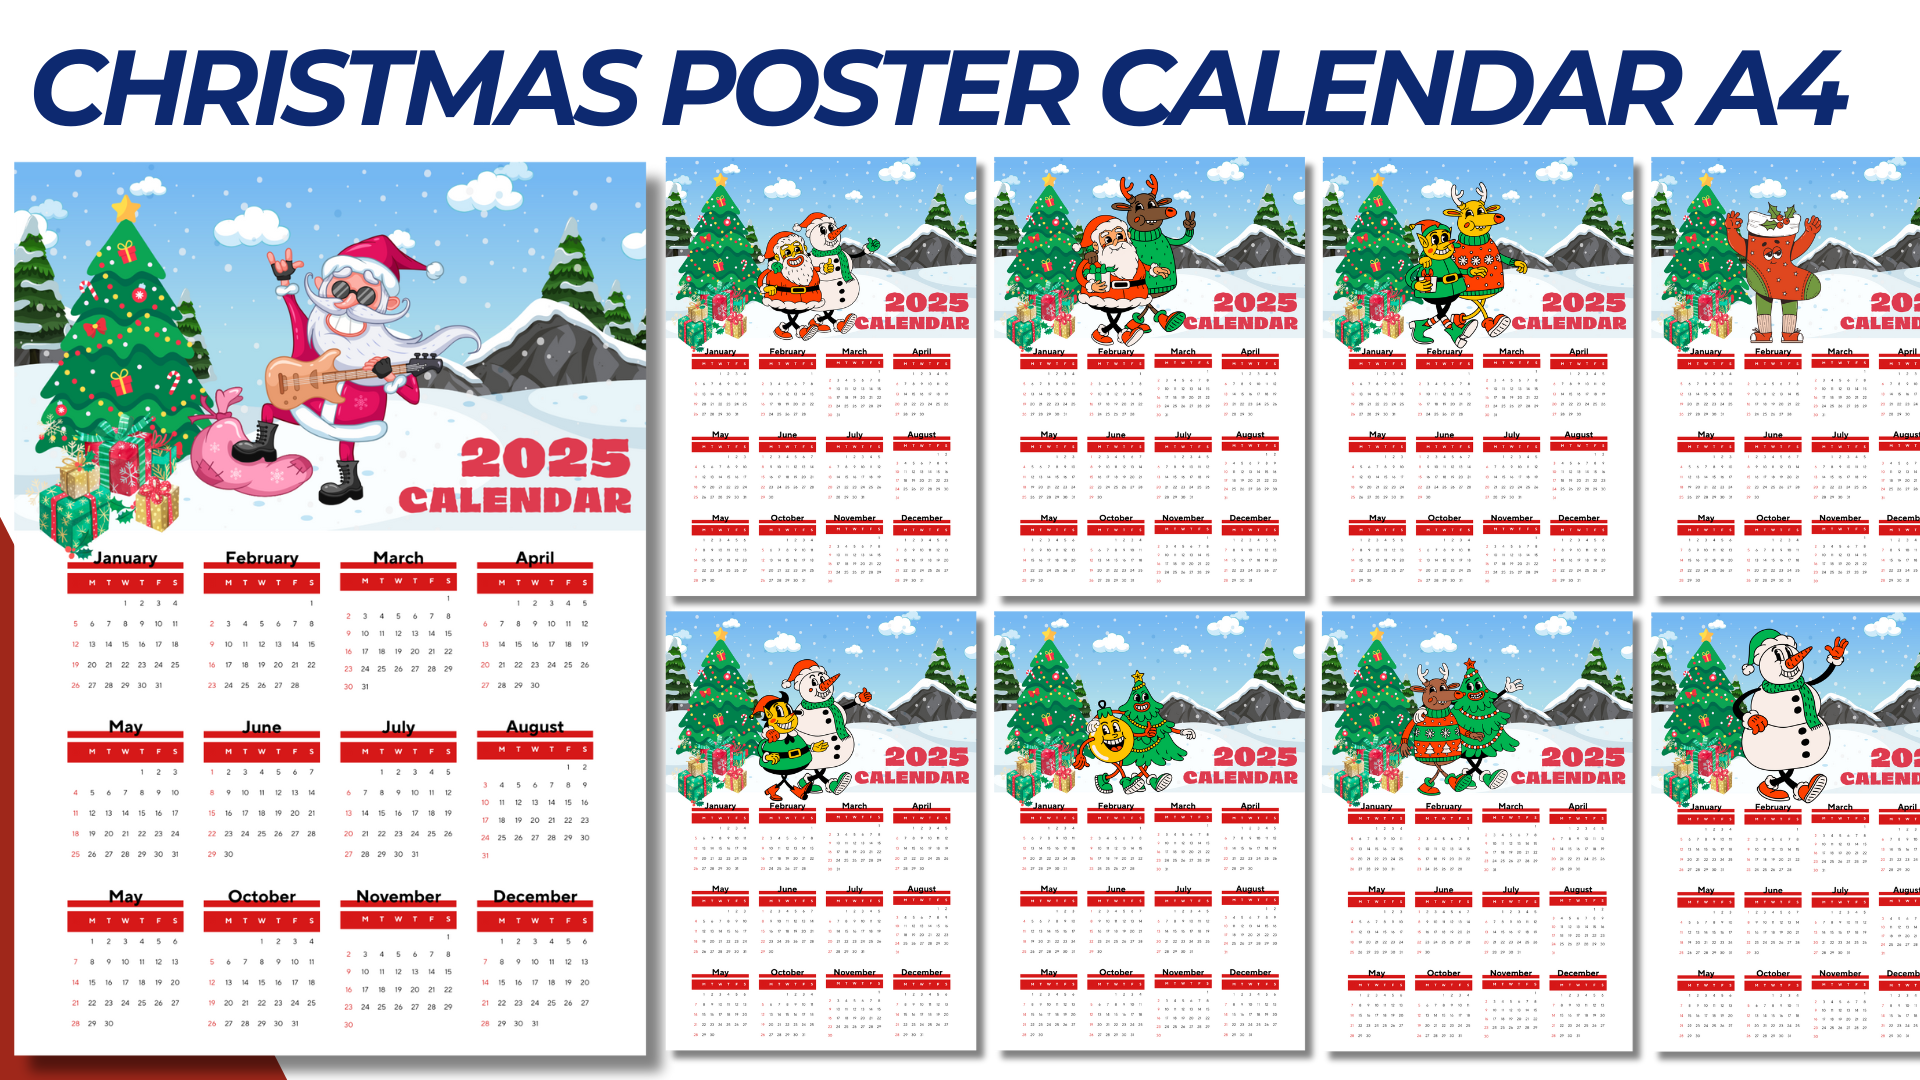
Creating a Christmas Poster Calendar for 2025 in A4 size with a festive design and a mockup for presentation is a fantastic idea for a holiday-themed calendar. Here’s how to design it:
Christmas Poster Calendar 2025 Design Details
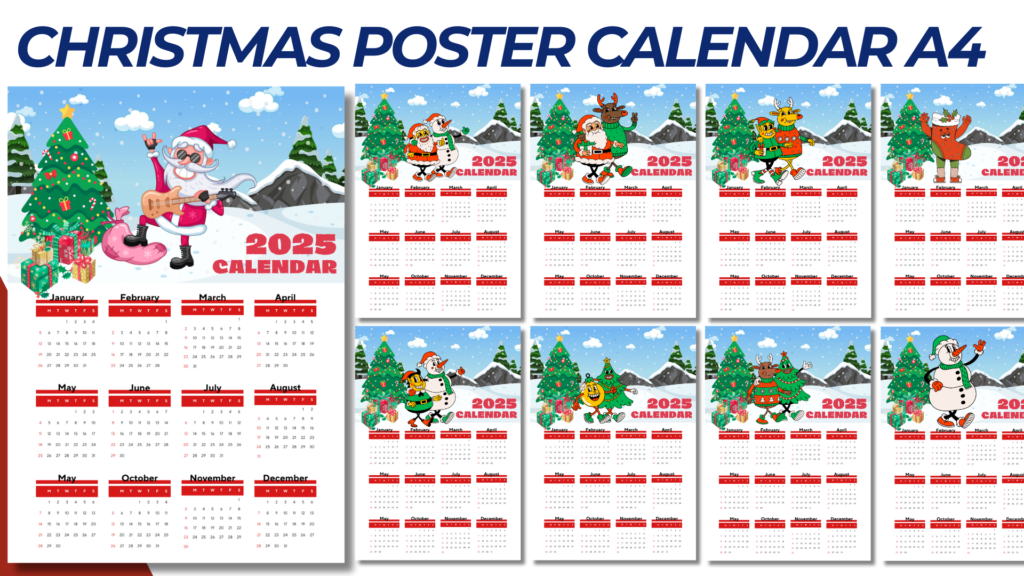
Specifications
- Size: A4 (8.27 x 11.69 inches)
- Orientation: Portrait or Landscape (choose based on design preference)
- Layout: Calendar grid with all months of 2025 on one page, surrounded by Christmas-themed illustrations and decorations.
- Color Palette: Traditional holiday colors like red, green, gold, silver, and white.
Design Layout Components
- Header Section
- Title: “Merry Christmas & Happy 2025!”
- Illustration: A festive Christmas scene, like Santa with his sleigh, a decorated Christmas tree, or a cozy winter cabin with snow.
- Font: Use a decorative, holiday-themed font for the title to make it festive.
- Calendar Grid
- Layout: 12 months displayed in a neat grid format, with each month labeled and arranged in rows or columns.
- Days of the Week: Abbreviated (Sun, Mon, Tue, etc.) to keep the grid compact and clear.
- Special Dates: Highlight important holidays like Christmas, New Year’s Day, Easter, and other significant dates in a different color or with small icons.
- Decorative Borders
- Add borders with holly leaves, candy canes, snowflakes, or Christmas ornaments to frame the calendar.
- Include small icons (like Santa hats or reindeer) subtly placed around the calendar grid.
- Footer Section
- Space for Notes: Leave a small section at the bottom for notes or a festive holiday quote.
- Design Elements: Add subtle, decorative patterns like snow or twinkling stars.
Mockup Design for Presentation
To create a realistic mockup for presenting your calendar design, consider using:
- Background Setup: A cozy holiday-themed background, like a wooden table with Christmas decorations (pinecones, fairy lights, or wrapped gifts).
- Calendar Placement: The A4 poster calendar placed at an angle, with shadows and highlights to make it appear realistic.
- Additional Props: Add Christmas props like a cup of hot cocoa, a small stack of wrapped gifts, or a sprig of mistletoe to enhance the holiday vibe.
Step-by-Step Instructions to Create the Calendar
- Design Software: Use graphic design software like Adobe Illustrator, Photoshop, Canva, or InDesign.
- Create the Calendar Grid:
- Divide the page into equal sections for each month.
- Use a simple sans-serif font for the dates and a decorative font for the month names.
- Add Holiday Illustrations:
- Place Christmas graphics around the grid, ensuring they don’t interfere with the readability of the dates.
- Highlight Important Holidays:
- Use red or gold text for holidays, and add small icons like Christmas trees or bells next to special dates.
Printing Tips
- Paper: Use high-quality, glossy or matte photo paper for a professional look.
- Resolution: Ensure the design is at least 300 DPI for crisp, clear printing.
Mockup Creation
- Use Mockup Templates: If you’re using Photoshop, download a mockup template and place your design on it using smart objects.
- Photo Editing Software: Alternatively, use Canva or other tools to create a simple mockup by overlaying your design onto a background image.
- Add Realistic Shadows: To make the mockup appear more realistic, add subtle shadows beneath the calendar and surrounding objects.
NOTE: Isa isahin nyo na lang ung LINK anjan din kasi ung mga MATERIALS na pwede magamit at ung FILES.
MATERIALS & FILES:
CLICK HERE: https://bit.ly/3REjSJX
CLICK HERE: https://bit.ly/3AS2mMC
CLICK HERE: https://bit.ly/3UC6yHp
CLICK HERE: https://bit.ly/3LeqsCW
CLICK HERE: https://bit.ly/47mjmqn