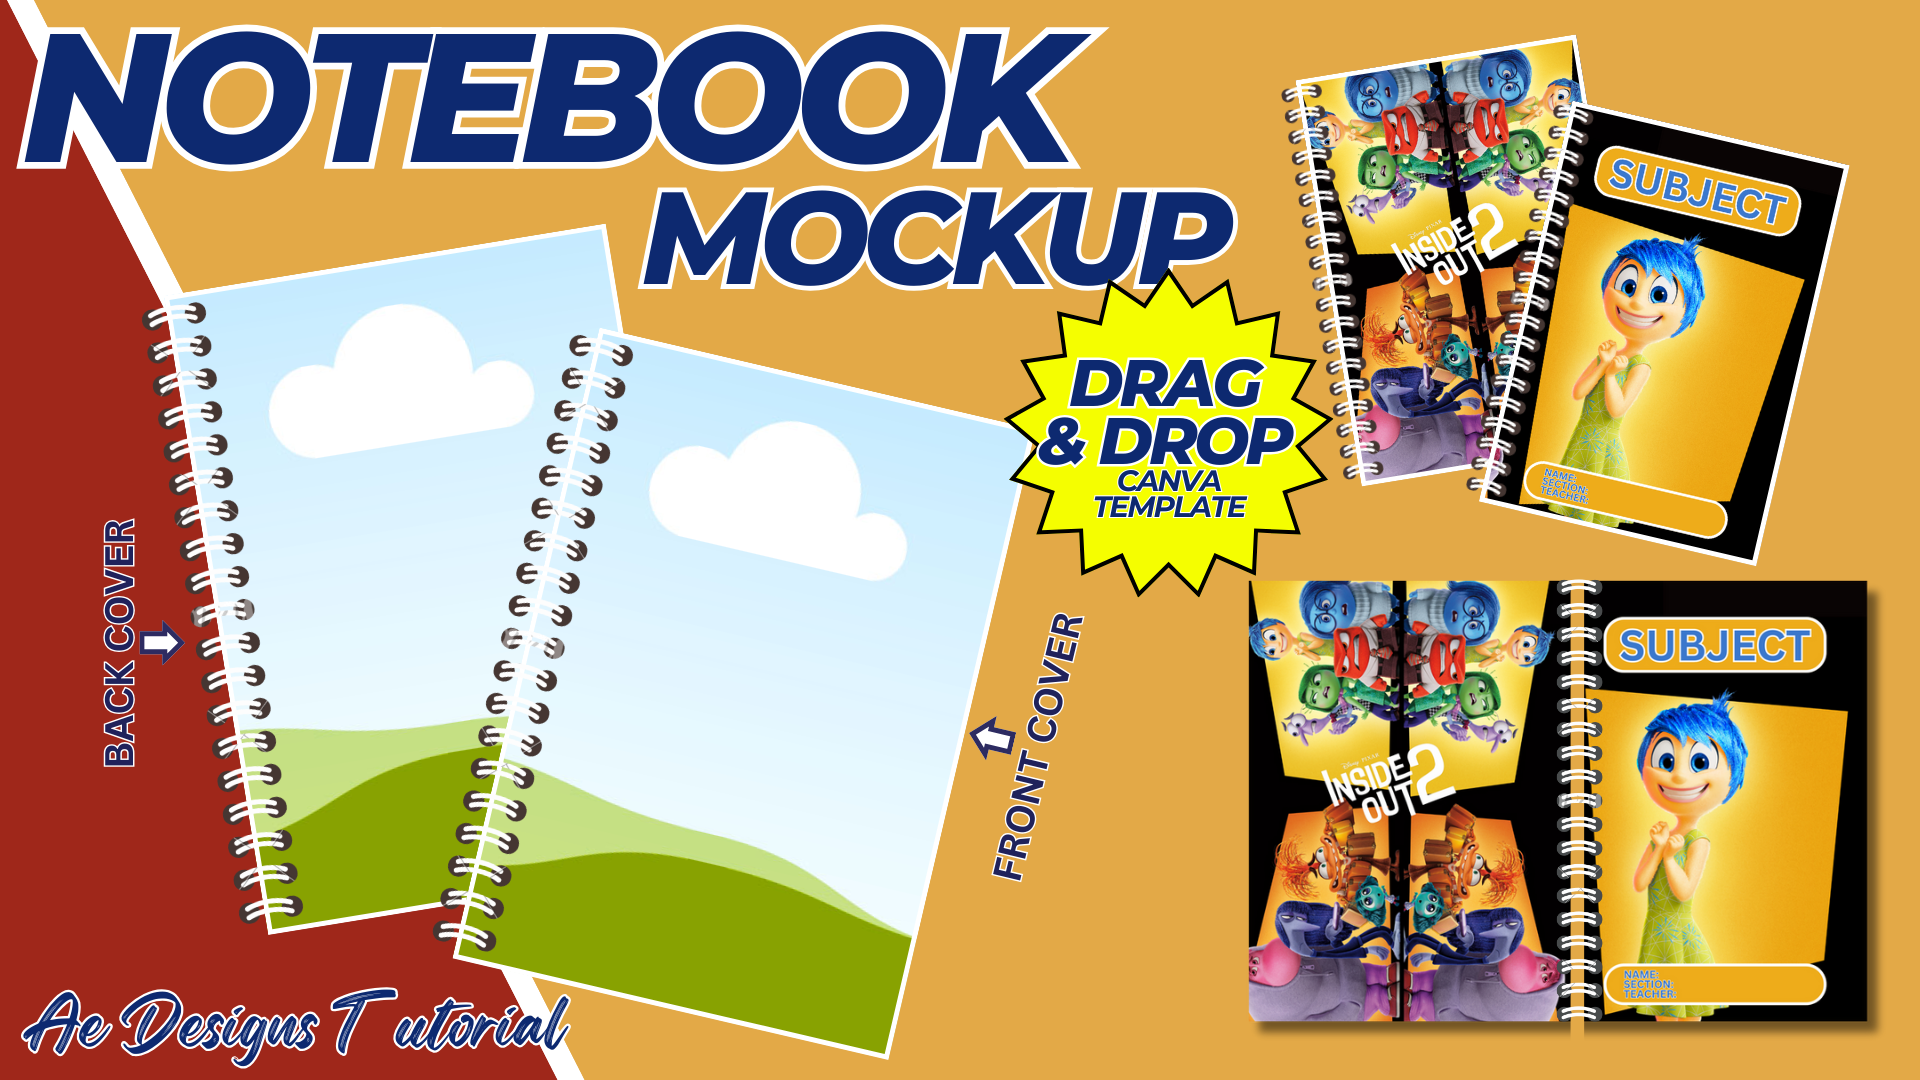

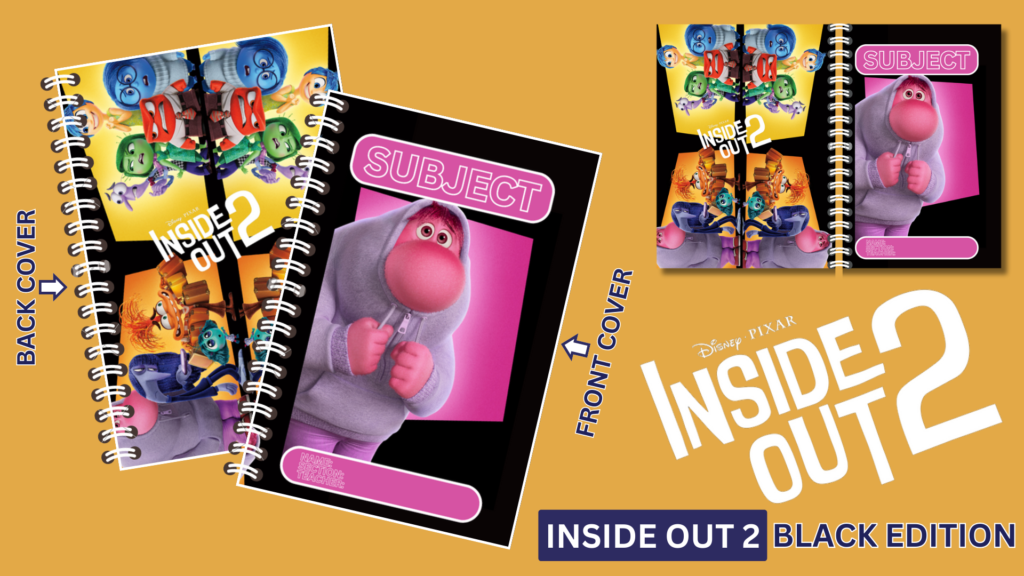
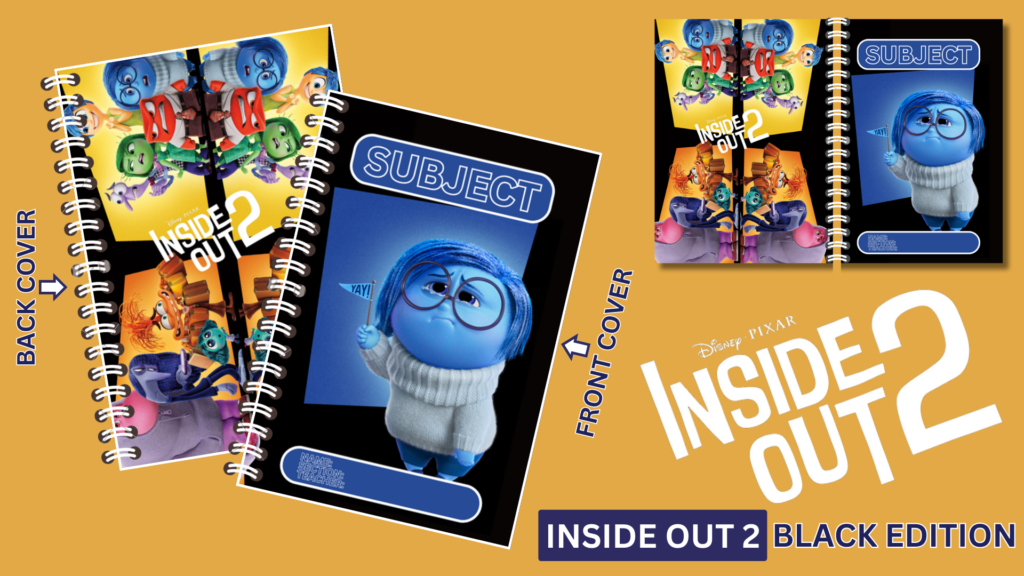
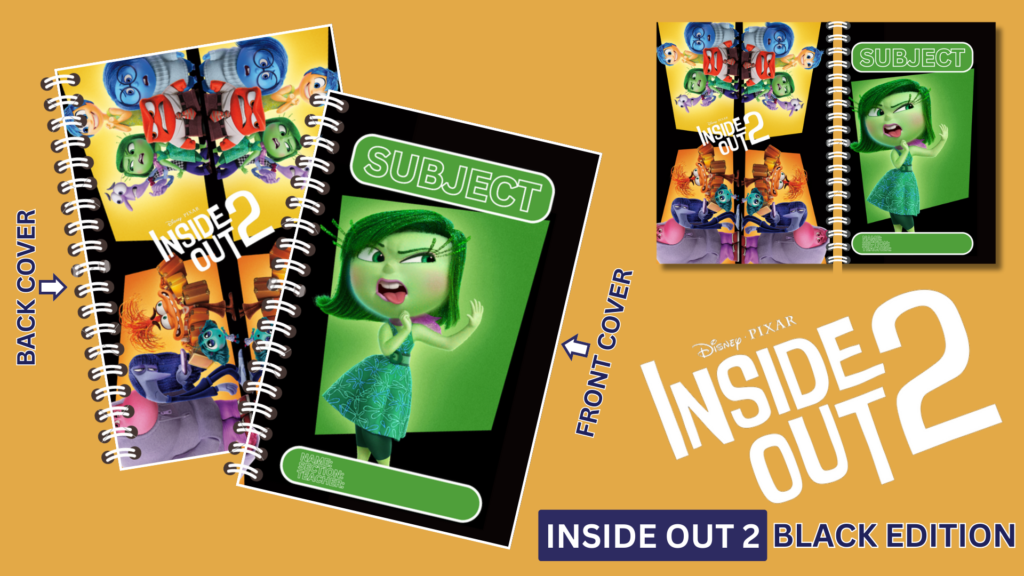
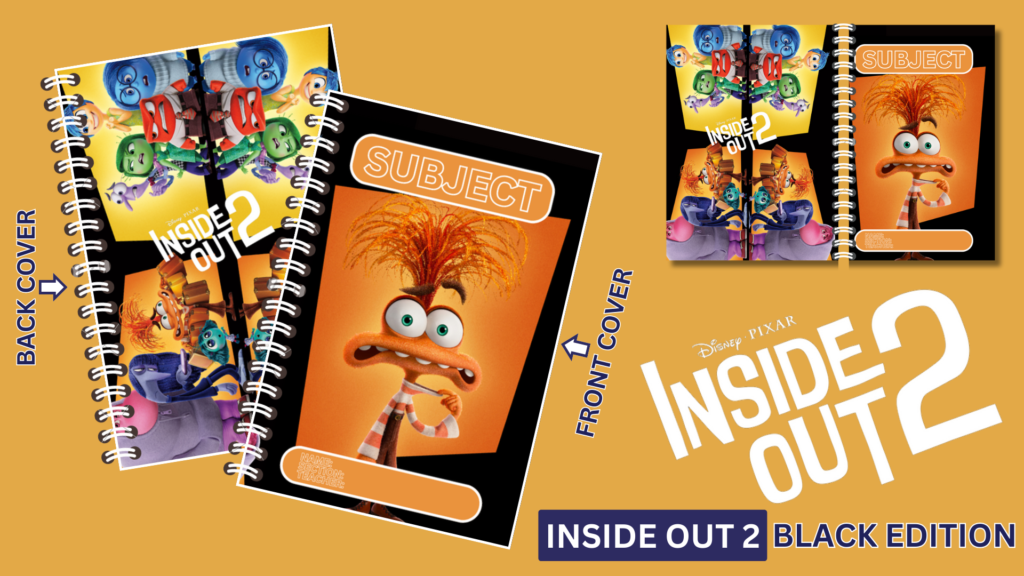
Notebook Mockup Template Using Canva
Creating a professional-looking notebook mockup template using Canva is a fantastic way to showcase your designs or create custom notebooks for personal or commercial use. Canva is an easy-to-use graphic design tool that provides a variety of templates, images, and design elements to help you create stunning mockups. Here’s a detailed guide to creating a notebook mockup template in Canva.
Step-by-Step Guide:
1. Setting Up Your Canva Account
- Sign Up or Log In:
- If you don’t already have a Canva account, sign up for free at https://bit.ly/3TNClnc
- If you already have an account, simply log in.
- Choose Your Plan:
- Canva offers a free plan with access to many features.
- Consider upgrading to Canva Pro for additional features and a broader range of design elements.
2. Creating a New Design
- Start a New Project:
- Click on the “Create a design” button in the top right corner of the homepage.
- Select “Custom size” and enter the dimensions you want for your notebook mockup. Common sizes for notebooks are 8.5×11 inches or A4 (210×297 mm).
- Choose a Template:
- Canva offers pre-made templates that can serve as a starting point.
- Search for “notebook mockup” in the template search bar to find relevant templates.
- Select a template that fits your needs or start from scratch.
3. Designing the Notebook Cover
- Background and Layout:
- Select a background color or image that complements your design.
- Use the “Elements” tab to add shapes and lines to create a structure for your cover.
- Add Text and Graphics:
- Use the “Text” tab to add your notebook title and any other text elements.
- Customize fonts, sizes, colors, and positions to match your design aesthetic.
- Use the “Elements” and “Uploads” tabs to add graphics, illustrations, or logos.
- Layering and Effects:
- Arrange elements in layers to create depth. Use the “Position” tool to move elements forward or backward.
- Add effects like shadows, glows, or transparency to enhance your design.
4. Creating the Notebook Interior
- Blank Pages:
- For a realistic mockup, design a few blank notebook pages.
- Use simple lines or grids to represent lined or graph paper.
- Custom Interior Pages:
- Create custom pages with different designs, such as planners, to-do lists, or doodle pages.
- Use the “Elements” and “Text” tools to add these details.
5. Assembling the Mockup
- Binding and Cover:
- Add elements to represent the notebook binding, such as spiral coils or a spine.
- Ensure that the cover design extends slightly beyond the edges of the binding to create a realistic look.
- 3D Effect:
- Use Canva’s shadow and perspective tools to add a 3D effect to your mockup.
- Search for and add mockup-specific elements like shadows and highlights to make your design pop.
6. Finishing Touches
- Consistency:
- Ensure that all elements are aligned and consistent in style.
- Double-check fonts, colors, and graphics for a cohesive look.
- Review and Revise:
- Take a step back and review your design. Make any necessary adjustments to ensure it looks polished and professional.
- Use the “Undo” and “Redo” buttons to quickly make changes.
7. Exporting Your Design
- Download Options:
- Click on the “Download” button in the top right corner.
- Choose your file type. PNG and JPG are great for web use, while PDF is ideal for printing.
- High-Quality Export:
- For the best quality, select “PNG” with a transparent background if you need to overlay your mockup on different backgrounds.
- Use the “PDF Print” option for high-resolution exports suitable for printing.
8. Using Your Mockup
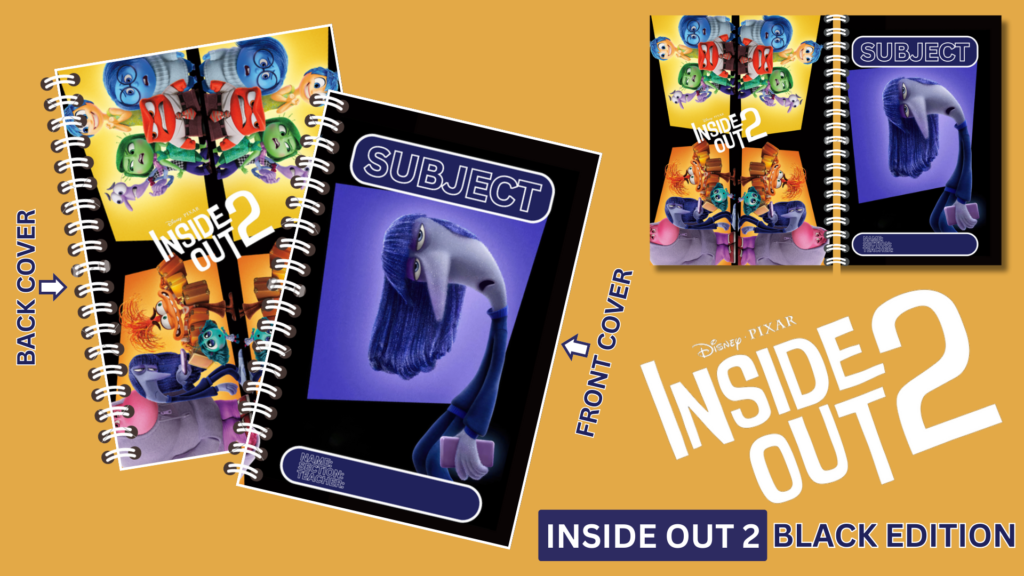
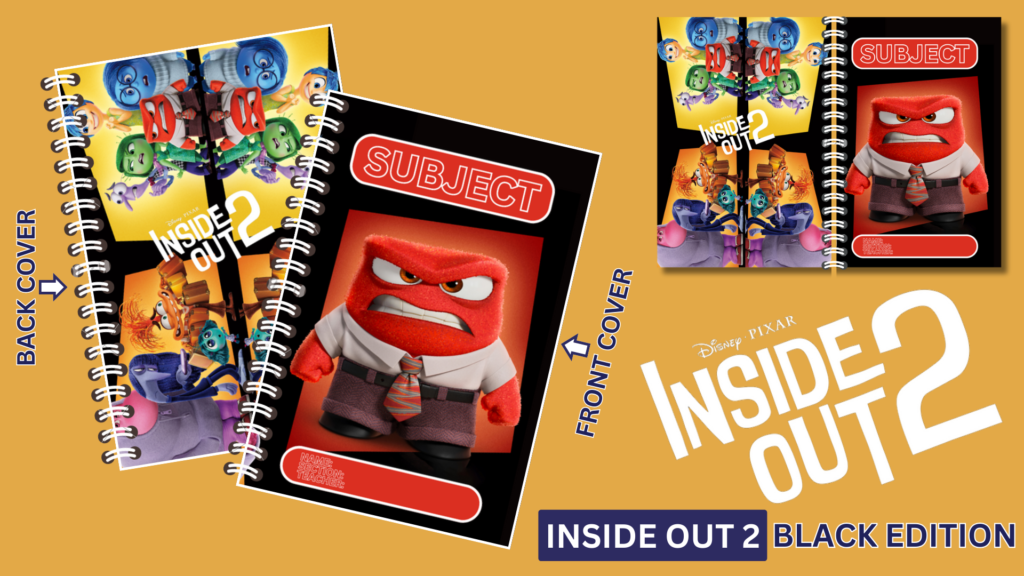
- Showcase Designs:
- Use your notebook mockup to showcase different cover designs to clients or in your portfolio.
- Create multiple versions with different designs to display a variety of options.
- Promotional Material:
- Use your mockup in promotional materials like social media posts, website banners, or email marketing.
- Product Listings:
- If you’re selling custom notebooks, use the mockup in product listings on your website or online marketplaces.
Tips for Creating Effective Notebook Mockups
- Keep It Simple:
- A clean and simple design is often more effective and visually appealing.
- Avoid cluttering your mockup with too many elements.
- Focus on Details:
- Small details like shadows, highlights, and textures can make a big difference in the realism of your mockup.
- Pay attention to the details of the binding and cover.
Consistency is Key:
- Maintain consistency in fonts, colors, and design elements across your mockup.
- This creates a professional and cohesive look.
Experiment with Different Styles:
- Try out different design styles, such as minimalist, colorful, or vintage, to see what works best for your brand or audience.
- Use Canva’s wide range of design elements to experiment with various looks.
Creating a notebook mockup template using Canva is a straightforward process that allows you to showcase your designs in a professional and appealing way. By following these steps and tips, you can create a high-quality mockup that effectively represents your notebook designs, whether for personal use, client presentations, or commercial purposes.
NOTE: Isa isahin nyo na lang ung LINK anjan din kasi ung mga MATERIALS na pwede magamit at ung FILES.