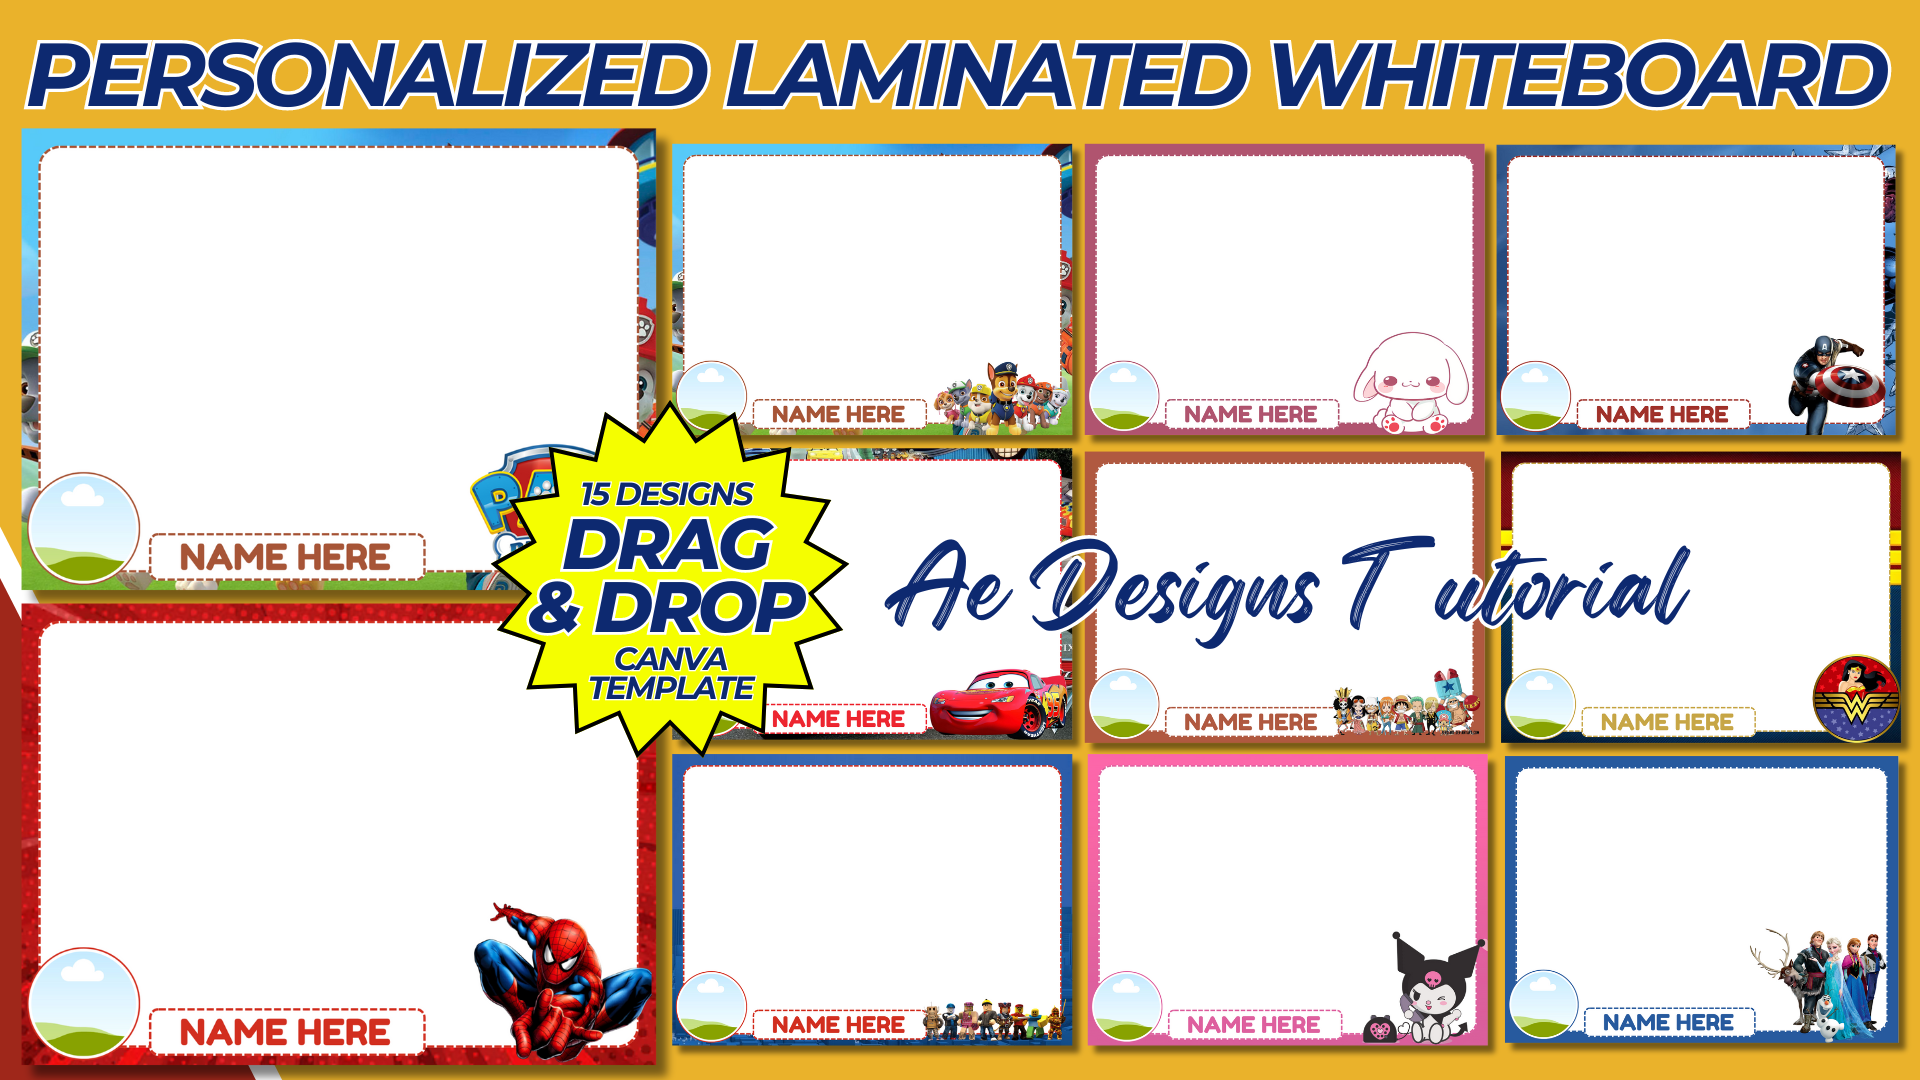

Creating a personalized laminated whiteboard template can be a fantastic project for both home and educational use. This guide will walk you through designing a customizable and functional whiteboard template in Canva, ready to be printed and laminated.
Purpose and Benefits
Purpose:
- To provide a reusable and customizable surface for writing, drawing, and organizing tasks.
- To create a visually appealing template that can be personalized with names, themes, or specific layouts.
Benefits:
- Reusable surface that can be written on and wiped clean.
- Customizable to fit various needs (e.g., schedules, to-do lists, learning activities).
- Durable and long-lasting when laminated.
Materials and Tools Needed
- Computer with internet access.
- Canva account (free or Pro version depending on needed features).
- Printer and high-quality paper.
- Laminator and laminating sheets.
- Dry erase markers.
Step-by-Step Guide to Creating the Personalized Laminated Whiteboard Template in Canva
1. Create a Canva Account:
- Sign up for a free account at Canva if you don’t already have one.
2. Start a New Design:
- Click on “Create a design” and select “Custom dimensions.”
- Set the dimensions to 8.5 x 11 inches (standard letter size) or any preferred size.
3. Choose a Layout:
- Select a blank layout to start from scratch or choose a pre-designed template if available.
4. Design the Template:
- Header: Add a personalized header. Example: “John’s Weekly Planner” or “Emma’s Learning Board.”
- Sections: Divide the template into sections based on its intended use. Here are some ideas:a. Weekly Planner:
- Days of the Week: Create sections for each day of the week.
- To-Do List: Add a to-do list section.
- Notes: Include a space for notes.
- Alphabet Tracing: Add lines for tracing letters.
- Math Problems: Include a section for solving math problems.
- Drawing Space: Provide an area for drawing.
- Task List: Add a list of chores.
- Completion Checkboxes: Include checkboxes for marking tasks as complete.
5. Customize the Design:
- Fonts: Choose clear and readable fonts for headings and sections.
- Colors: Use a consistent color scheme that is visually appealing.
- Graphics: Add relevant images or icons to enhance the template (e.g., decorative borders, small icons for each section).
- Alignment: Ensure all elements are well-aligned and spaced evenly for a clean look.
6. Add Personalization:
- Name: Include the name of the person using the whiteboard.
- Themes: Customize with themes that match the user’s interests (e.g., favorite colors, characters, or patterns).
7. Ensure Printability:
- Check that all elements are within the printable margins.
- Make sure the resolution is high enough for clear prints.
- Save and download the design in a high-resolution format suitable for printing (e.g., PDF).
8. Print and Laminate:
- Print the design on high-quality paper.
- Laminate the printed template using a laminator and laminating sheets to create a durable, wipeable surface.
Example Layout
1. Header:
- Title: “John’s Weekly Planner” or similar personalized title.
- Graphics: Small decorative elements or icons.
2. Sections:
- Weekly Planner:
- Days of the Week: Columns or rows for each day.
- To-Do List: Bullet points or checkboxes.
- Notes: Blank space for additional notes.
- Learning Activities:
- Alphabet Tracing: Dashed lines for tracing letters.
- Math Problems: Blank space for solving problems.
- Drawing Space: Open area for drawing.
- Chore Chart:
- Task List: Rows with tasks listed.
- Completion Checkboxes: Small checkboxes next to each task.
Conclusion
By following this guide, you can create a personalized laminated whiteboard template using Canva that is both functional and visually appealing. This template can be customized to suit various needs, making it a versatile tool for organization, learning, and daily planning. Once printed and laminated, it will provide a durable and reusable surface for writing and drawing, perfect for home, school, or office use.
NOTE: Isa isahin nyo na lang ung LINK anjan din kasi ung mga MATERIALS na pwede magamit at ung FILES.
Materials PERSONALIZED LAMINATED WHITEBOARD TEMPLATE
Click here: https://bit.ly/3Y0Z2IF
Click here: https://bit.ly/3RYUZsg
Click here: https://bit.ly/3TNClnc
Click here: https://bit.ly/3Yr3jFn
Click here: https://bit.ly/3LeqsCW