Creating a customizable template for both subject names and student names in Canva is an excellent way to organize and personalize educational materials. This guide will walk you through the steps to design a versatile template for use in notebooks, folders, or any other school-related items.
Purpose and Benefits
Purpose:
- To provide a customizable template for labeling school materials with subject names and student names.
- To keep school supplies organized and easily identifiable.
Benefits:
- Customizable for different subjects and students.
- Enhances organization and personalization.
- Easy to print and use.
Materials and Tools Needed
- Computer with internet access.
- Canva account (free or Pro version depending on needed features).
- Printer and high-quality paper or label stickers (if printing at home).
Step-by-Step Guide to Creating a Subject Name & Student Name Template in Canva
1. Create a Canva Account:
- Sign up for a free account at Canva if you don’t already have one.
2. Start a New Design:
- Click on “Create a design” and select “Custom dimensions.”
- Set the dimensions to a standard label size (e.g., 3.5 x 2 inches for name tags or any preferred size).
3. Choose a Layout:
- Select a blank layout to start from scratch or choose a pre-designed template if available. Starting with a blank layout often allows for maximum customization.
4. Design the Template:
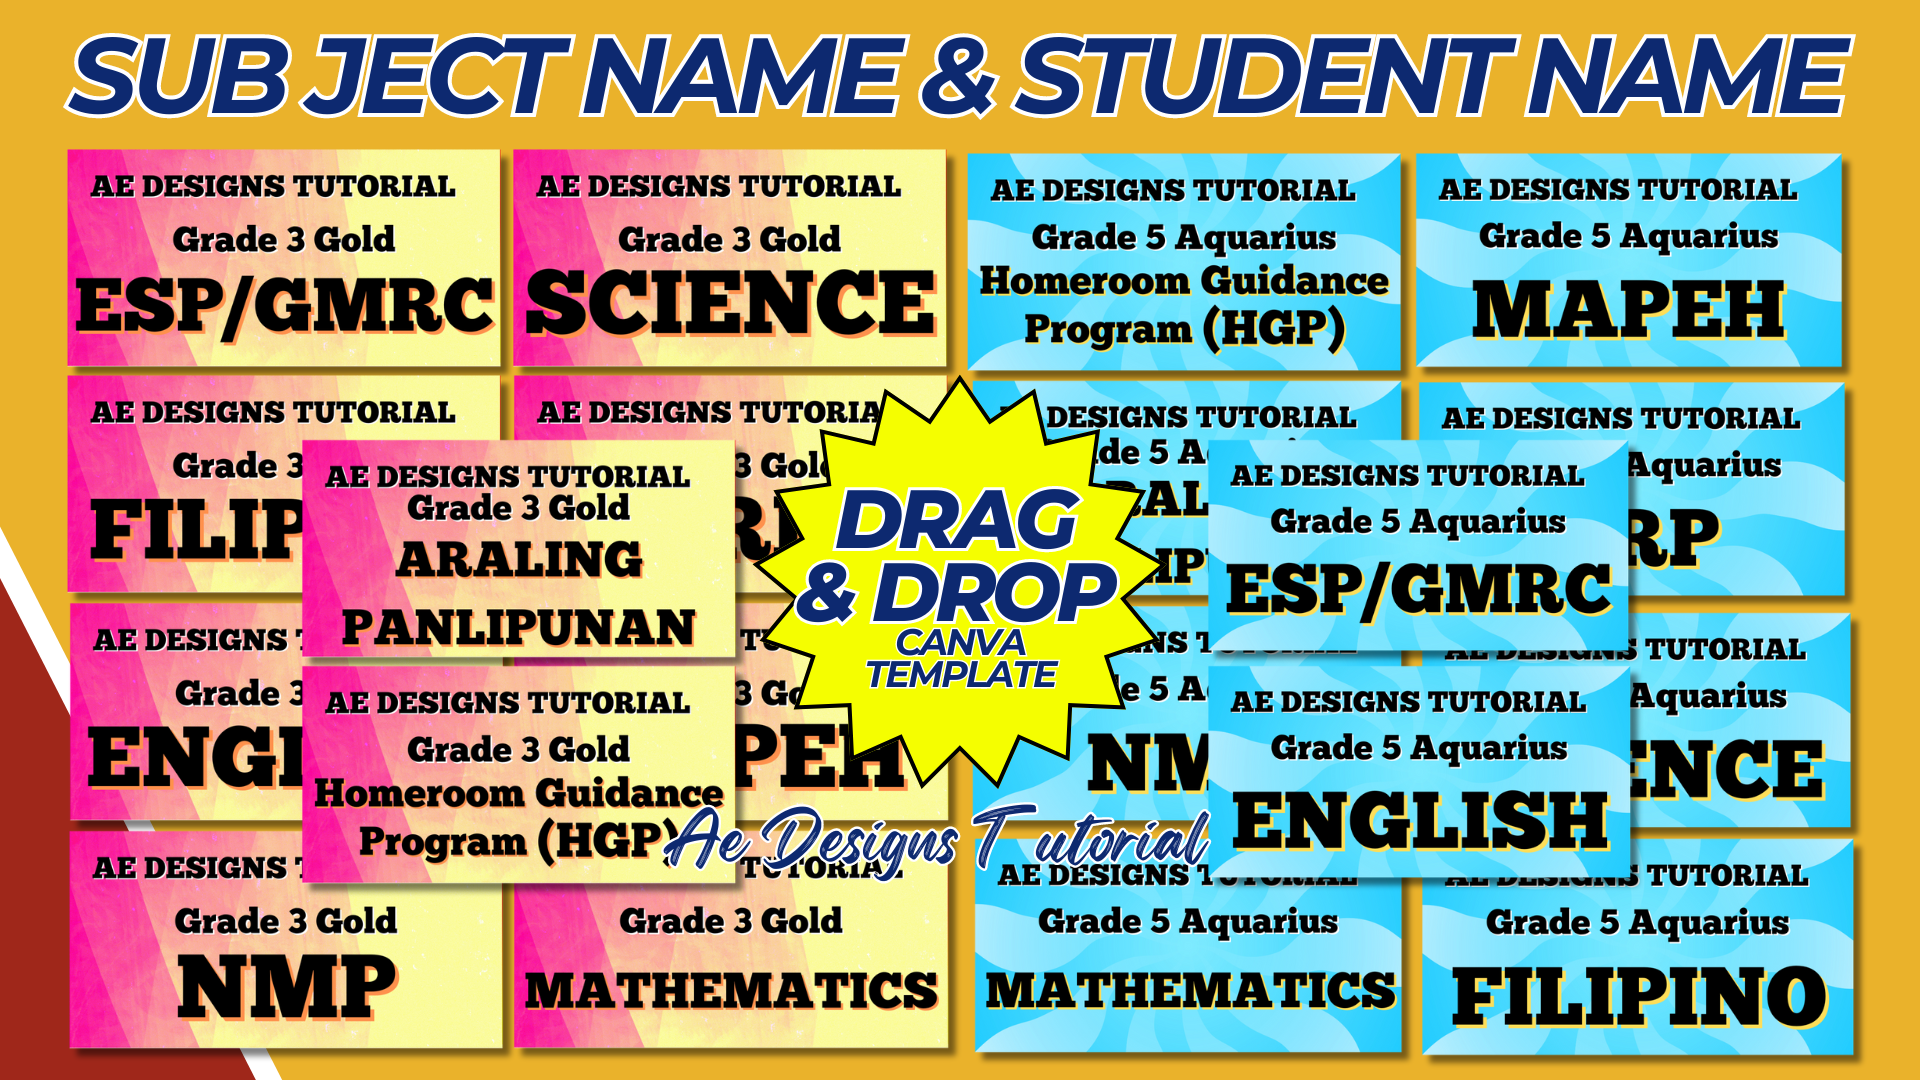
- Title Area: Add a text box at the top for the subject name. Use a clear, bold font for readability. You might label it as “Subject Name” for placeholder purposes.
- Student Name Area: Add another text box below the subject name area for the student’s name. Use a complementary font style that is also easy to read.
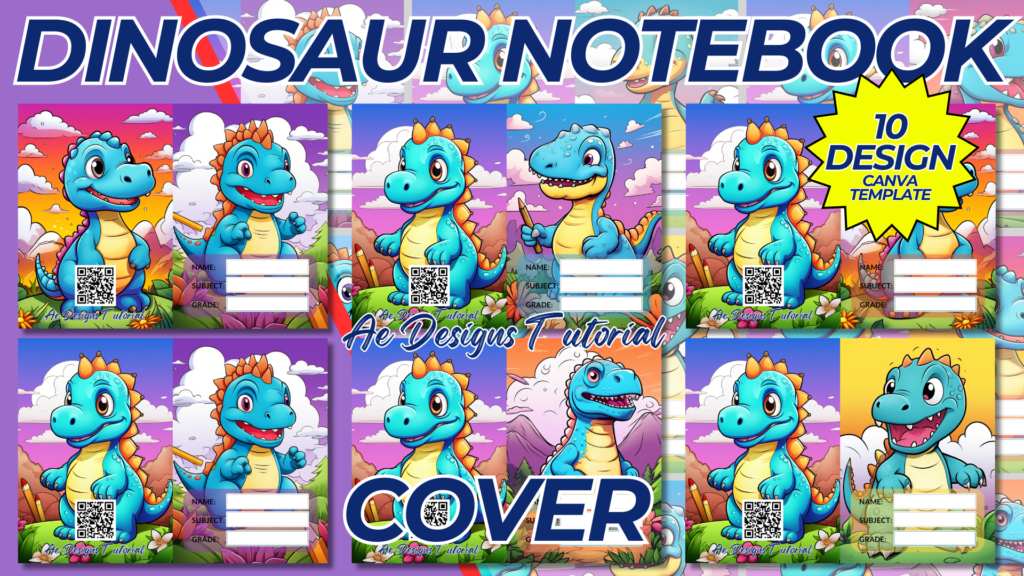
- Decorative Elements: Insert images, icons, or borders to make the label visually appealing. For example, use an icon related to the subject (e.g., a book icon for English, a beaker for Science).
- Background: Choose a background color or pattern that matches the theme of the subject or is visually appealing without being too distracting.
5. Customize the Design:
- Fonts: Choose fonts that are legible and appropriate for the age group. For younger students, a more playful font can be used, while older students might prefer something more sophisticated.
- Colors: Use a color scheme that is easy on the eyes but distinctive enough to differentiate between subjects.
- Alignment: Ensure that all elements are well-aligned and spaced evenly for a clean and organized look.
6. Ensure Printability:
- Check that all elements are within the printable margins.
- Make sure the resolution is high enough for clear prints.
- Save and download the design in a high-resolution format suitable for printing (e.g., PDF).
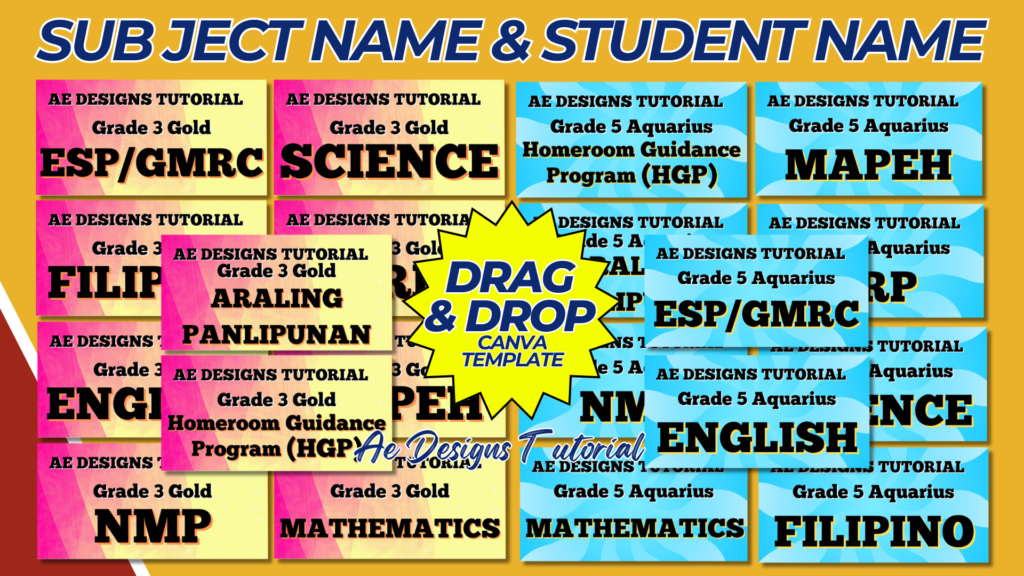
Example Layouts
1. Basic Layout:
- Header: “Subject Name” at the top.
- Content Area: “Student Name” below the subject name.
2. Decorative Layout:
- Header: “Subject Name” at the top with a decorative border.
- Content Area: “Student Name” in the center with icons related to the subject on the sides.
3. Themed Layout:
- Header: “Subject Name” at the top with a background related to the subject (e.g., a chalkboard theme for Math).
- Content Area: “Student Name” with matching colors and fonts to the theme.
Conclusion
By following this guide, you can create a versatile and personalized subject name and student name template using Canva. This template can be customized for various subjects and students, making it an excellent tool for organizing school materials. Whether you are a teacher, parent, or student, this template will help keep educational resources neat and easily identifiable.
NOTE: Isa isahin nyo na lang ung LINK anjan din kasi ung mga MATERIALS na pwede magamit at ung FILES.
Materials SUBJECT NAMES & STUDENT NAMES
Click here: https://bit.ly/3Y0Z2IF
Click here: https://bit.ly/3RYUZsg
Click here: https://bit.ly/3TNClnc
Click here: https://bit.ly/3LQLHve
Click here: https://bit.ly/3LeqsCW