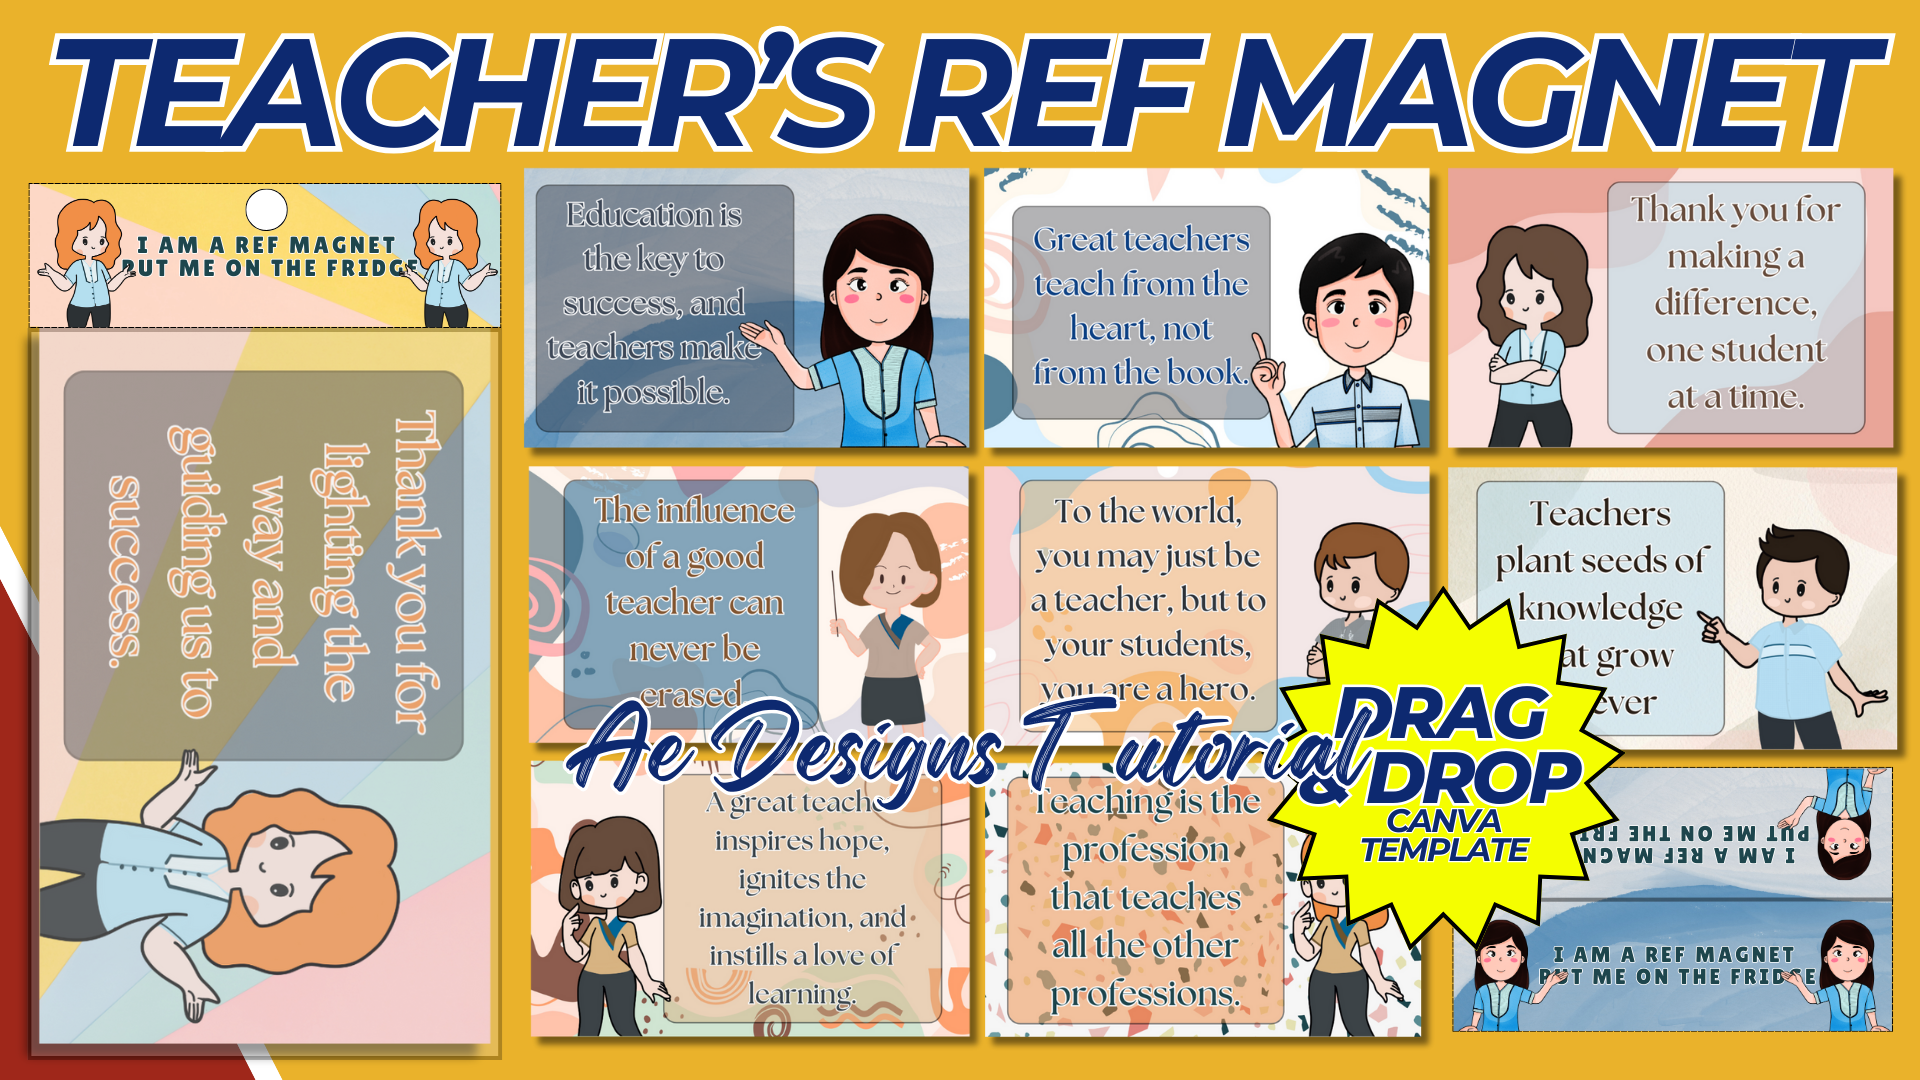
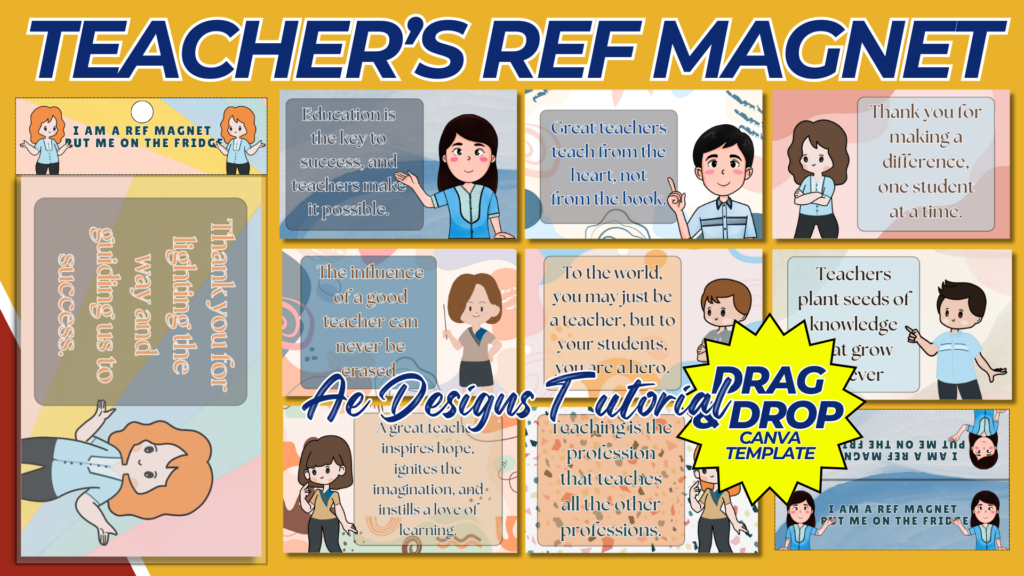
Creating a Teachers’ Ref Magnet template is a thoughtful and practical gift idea, especially for Teacher’s Day or other appreciation events. Below is a guide on how to design this template:
1. Size and Format:
- Dimensions: Common sizes for refrigerator magnets range from 2×3 inches to 3.5×5 inches. Choose a size that is practical yet offers enough space for design elements.
- Shape: Rectangular or square shapes are typical, but you could also consider custom shapes like an apple, book, or chalkboard to symbolize teaching.
2. Design Elements:
- Theme:
- Educational Icons: Incorporate symbols associated with teaching, such as books, pencils, rulers, or a globe.
- Color Palette: Use colors that are warm and inviting, like shades of blue, green, or pastels. Adding touches of gold or silver can give the magnet a more premium feel.
- Typography: Use clear, legible fonts. A combination of serif and sans-serif fonts can be visually appealing and professional.
- Content:
- Inspirational Message: Include a short, uplifting message or quote about teaching. For example, “Teaching is a work of heart” or “Thank you for making a difference every day.”
- Personalization: If possible, personalize the magnet with the teacher’s name, the school name, or the year.
- School Logo: Include the school’s logo or mascot subtly in one corner of the magnet.
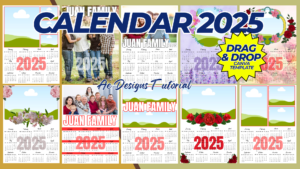
- Calendar or Notepad: Some ref magnets include a small calendar for the current school year or a tear-off notepad, which could be added as a practical feature.
3. Design Process:
- Sketching: Begin by sketching the layout on paper or digitally. Plan where the main message, icons, and other elements will be placed.
- Digital Design: Use design software such as Adobe Illustrator, Photoshop, or Canva to create the template. Ensure all elements are balanced and spaced evenly.
- Detailing: Add small details like shadows, gradients, or textures to enhance the visual appeal. However, keep the design clean and not overly cluttered.
4. Technical Specifications:
- Resolution: Ensure the design is in high resolution (300 DPI) to maintain clarity when printed.
- Color Mode: Use CMYK color mode for accurate color printing.
- Bleed Area: Include a 0.125-inch bleed area around the design to allow for edge-to-edge printing.
5. Finalizing the Design:
- Review: Check the design for any spelling errors, alignment issues, or visual clutter. Ensure the text is legible, and the design elements are appropriately scaled.
- Test Print: Print a sample to see how the design looks in its actual size and make any necessary adjustments.
6. File Preparation:
- File Format: Save the final design in a print-ready format such as PDF, with all fonts embedded. Provide a PNG or JPG version for digital sharing.
- File Naming: Name the file clearly, such as “TeachersDay_RefMagnet_Template.pdf,” to avoid confusion.
7. Printing Tips:
- Material: Choose a magnetic material with a glossy or matte finish, depending on the desired look. The thickness of the magnet should be enough to stick well but not too bulky.
- Printing Method: For mass production, use a professional printing service to ensure high-quality results. Ensure that the service understands any bleed and trim requirements.
8. Distribution Ideas:
- Teacher Gifts: Distribute these magnets as part of a gift package for Teacher’s Day, or include them in appreciation bags for teachers.
- Promotional Use: Use them as promotional items during school open houses, teacher conferences, or community events, showcasing the school’s appreciation for educators.
This Teachers’ Ref Magnet template is not only a practical item but also serves as a constant reminder of the appreciation and value placed on teachers in the community.
NOTE: Isa isahin nyo na lang ung LINK anjan din kasi ung mga MATERIALS na pwede magamit at ung FILES.
Materials TEACHER’S REF MAGNET
Click here: https://bit.ly/3Y0Z2IF
Click here: https://bit.ly/3RYUZsg
Click here: https://bit.ly/4e4cRdZ
Click here: https://bit.ly/3TNClnc
Click here: https://bit.ly/4eb0Nb1
Click here: https://bit.ly/3LeqsCW